Mission Requirements:
Score 760k | Clear without any KOs | Clear within 100 turns | Take 15000 or less HP damage
Featured Characters: Vaan, Gabranth, Lenna, Wakka, Locke, Balthier
Many team ideas with and without boosted characters are available in this event’s Call to Arms!
![]()
These guides are only released at least one day after the event has launched, because they are based on first-hand experience from testing and beating the fight with different team comps and strategies. And that takes a good amount of time!
If you would like to help support the effort put into creating this content, please consider becoming a patron. ![]()
Fight Overview & Team building
This fight is bullshit!There, it needed to be said. But it can be conquered, as long as you know what you are dealing with. Make sure to bring strong damage dealers (especially for single target) and good healing, because both waves deal heavy HP damage. For an easier time on the regular Chaos, bring a character who can completely shut down bosses for a few turns (Amidatelion/Arciela/Eald’narche/Kefka). Make sure to avoid using any of the elements the Avengers absorb, and remember that the button to reset the fight from the current wave is a lifesaver.
Recommended:
- Paralysis or Delayers/Amidatelion
- Damage Mitigators
- Healers
- Debuffers are tricky to use because of the occasional cleanses, but can help a lot.
- Characters who can battery your team are very useful to avoid breaks.
Avoid:
-
 Thunder,
  Earth and
  Dark attackers, because the last wave absorbs those elements.
Summon tips:
- Leviathan for the SPD Down and extra BRV Regen that is guaranteed to activate with the HP damage from the first wave. It also hits weakness for the last wave. Save your sumon for wave 2.
- Avoid Ramuh, Brothers and Diabolos, because the last wave absorbs their elements.
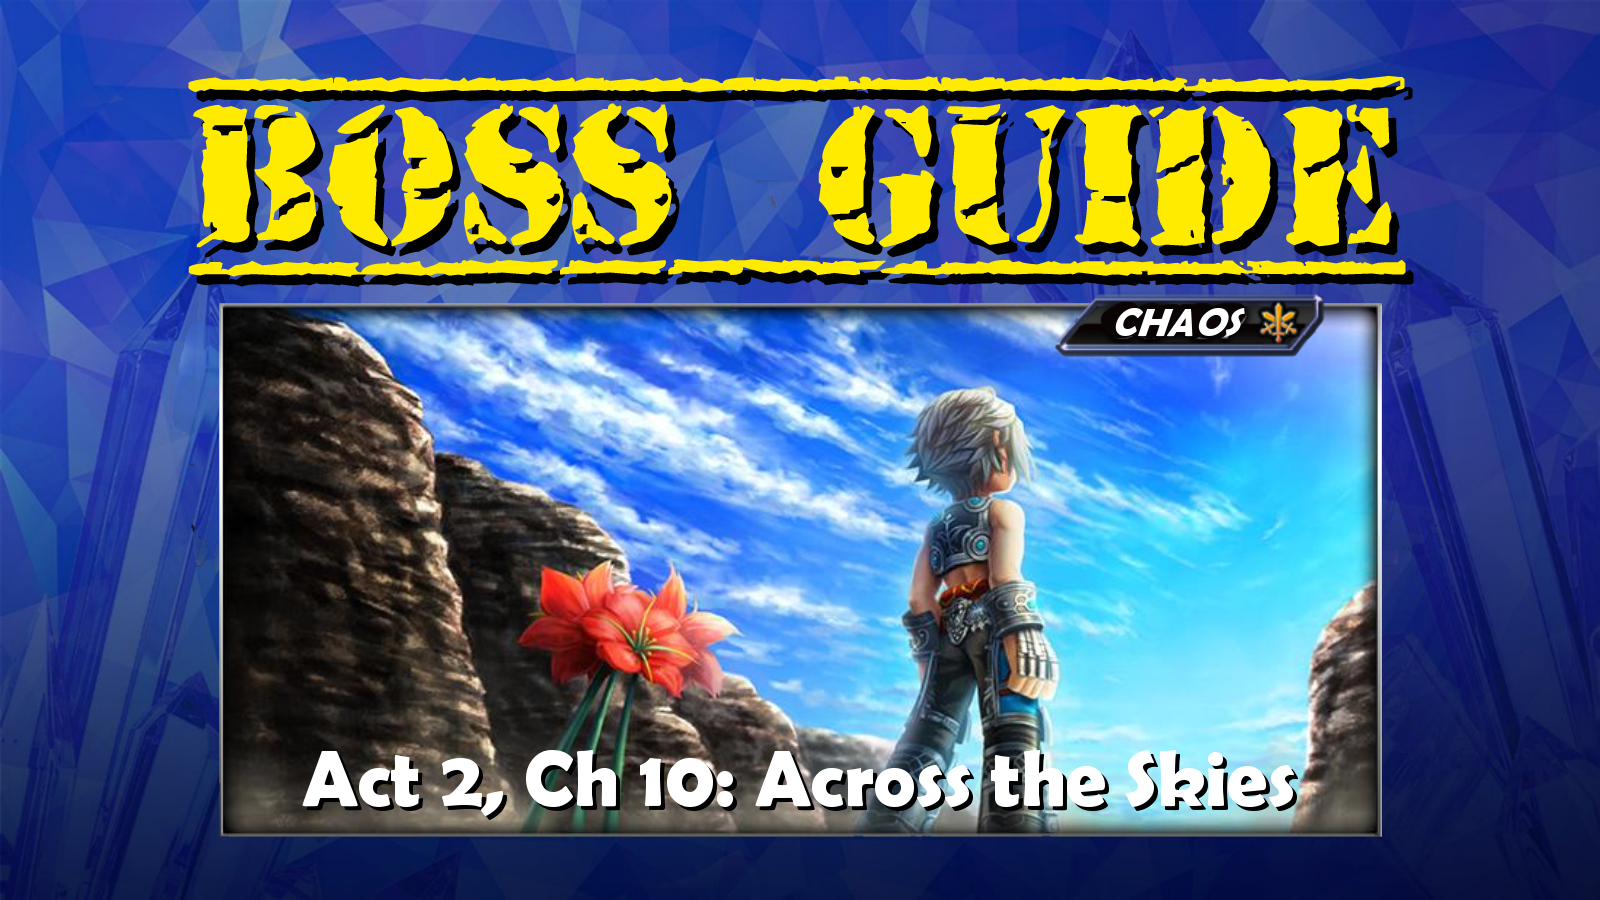
Wave 1: Hollow Rider x3
| BRV Attack | |
| Hard Lance | |
| Group Death | low chance of inflicting Break |
| Drain | Increases BRV if below INT BRV; |
| Solid Break | inflicts |
| Clinging Nightmare | Changes own BRV; restores party’s HP; grants party |
| Stingheart | inflicts |
| Shareburst | Increases BRV if below INT BRV; absorbs allies’ BRV; |
| Absolute Pain | Recovers from Break; |
| Will of Destruction | Guaranteed hit; inflicts increases BRV |
Rule of Ruin (activates at 80% HP):
Cleanses all debuffs (including framed) and grants immunity to all debuffs for 3 turns;
Invisible aura gives 30% increase to ATK, DEF, INT BRV, MAX BRV and 10% to SPD, lowers BRV damage taken by 30%
Rule of Ruin+ (activates at 50% HP):
Cleanses all debuffs (including framed) and grants immunity to all debuffs for 5 turns;
Aura changes to 50% increase to ATK, DEF, INT BRV, MAX BRV and 20% to SPD, lowers BRV damage taken by 50%
Enrage: Yes. When only one Rider is left alive, it will use Rule of Ruin++: Raises ATK, DEF, SPD, INT BRV, MAX BRV even further and becomes immune to debuffs.
We have already dealt with the Hollow Riders in Porom’s Lost Chapter; they have not changed at all since then, but our characters have grown much stronger through natural power creep. And thus the riders become just the show openers before the main attraction. This is a quick refresher on how to deal with their worst features:
HP Down Aura: One of the Riders’ first action is always Will of Destruction, which cannot be avoided (even by debuff immunity or evasion) and lowers your team’s MAX HP by approximately 1/4 until the end of the fight. The only way to avoid this is by killing that rider before it acts – or if you REALLY want to keep one party member’s HP high, you can summon your friend unit before that Rider acts and the swapped out party member will not suffer the HP reduction.
Debuff immunity/cleansing: At 80% HP, they will cleanse all debuffs currently affecting them and gain an invisible immunity to debuffs for 3 turns. When they reach 50% HP, they will cleanse debuffs again and gain immunity to debuffs for 5 turns. This means that debuff-based characters can work, but you will have to cope without debuffs until that immunity goes down. One way to mitigate this is by focusing HP damage on only one of the riders until it gets to 50%, then start working on the other ones.
Getting through “Last Stand”-style passives: The Riders’ signature attack, Clinging Nightmare, deals HP damage twice. This means you cannot count on passives that allow you to survive lethal attacks with 1 HP, since the second portion of the attack will seal the deal.
Consecutive actions: The riders have a bad habit of taking several actions in a row, which may lead to unpredictable results – like one of them breaking a character giving the next one enough BRV to one-shot a target that was already at low HP. Noe more than one of them will use Clinging Nightmare in the same round, but do not underestimate the danger of a sequence of breaks giving them too many actions before you can react.
Enrage: If you try to whittle down the Riders one by one, the last one standing will get a huge stats increase through Rule of Ruin++, which also cleanses current debuffs and grants debuff immunity. It is safe to focus one down first, but the last two Riders should be killed together.
A good healer is very recommended to deal with their strong frequent HP attacks.
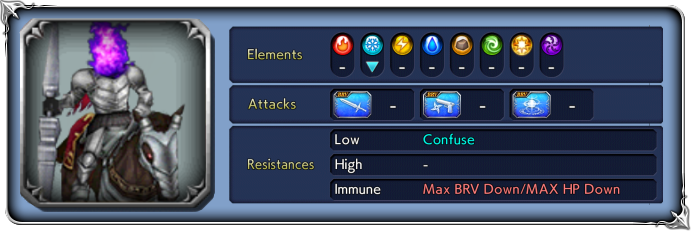
Wave 2: Avenger x2
| BRV Attack | |
| Downward Strike | |
| Lunge | |
| Dark Break | recovers from Break; |
| Shockwave Pulsar | |
| Ardor | (:debuff_generic_framed: Steady Shot: any actions by the afflicted character will trigger a Counter Lunge from both Avengers.) |
| Rage | cleanses own debuffs (except framed); recovers from Break; removes target’s buffs (including framed); grants |
At wave start: Chaos aura grants 50% increase to SPD
Exuding a sinister aura…!:(activates at 80% HP):
Aura changes to 30% increase to ATK, INT BRV, MAX BRV and 60% to SPD, lowers BRV damage taken by 30%
Further exuding a sinister aura…!: (activates at 50% HP):
Aura changes to 50% increase to ATK, INT BRV, MAX BRV and 70% to SPD, lowers BRV damage taken by 50%
Enrage: No. Focusing one of them down first is very recommended.
Have you ever felt a little bad using Amidatelion, Eald’narche, Arciela, Kefka or Shantotto to cheese fights by completely shutting down bosses and not allowing them to ever act?
Welcome to the fight that will clear your conscience. These bosses are SO full of shit, you can use any of those “cheesy” units without remorse. In fact, it feels like that is exactly what the developers expect you to do, if you look at how ridiculous the boss mechanics are.
They work on a somewhat predictable pattern. Their very first move is always Ardor, which inflicts a very annoying debuff ( ![]() Steady Shot: any actions by the afflicted character will trigger a Counter Lunge from both Avengers). You don’t want that debuff on more than one character, so feel free to reset the wave if they start out targeting two different people. While debuff evasion/immunity does not prevent the debuff, it CAN be cleansed by Balthier, Yuna, Cyan, etc; and if you stack 6 framed buffs on your characters, the debuff will not land because there will be no slots left for it.
Steady Shot: any actions by the afflicted character will trigger a Counter Lunge from both Avengers). You don’t want that debuff on more than one character, so feel free to reset the wave if they start out targeting two different people. While debuff evasion/immunity does not prevent the debuff, it CAN be cleansed by Balthier, Yuna, Cyan, etc; and if you stack 6 framed buffs on your characters, the debuff will not land because there will be no slots left for it.
Then, they will use regular moves until the recast bar is filled. These can be very dangerous if you allow them to break you, either with their regular attacks or with the Counter Lunges. If you see an ![]() attack while the recast bar is not full, you can be sure it’s going to be a Shockwave Pulsar. Their only BRV + HP Attack is Dark Break, which is used more often at lower health. But since they can easily start the turn with high BRV from their counters, watch out for sudden HP attacks. You want to be at high HP to survive their recast.
attack while the recast bar is not full, you can be sure it’s going to be a Shockwave Pulsar. Their only BRV + HP Attack is Dark Break, which is used more often at lower health. But since they can easily start the turn with high BRV from their counters, watch out for sudden HP attacks. You want to be at high HP to survive their recast.
Rage (the recast) is their worst ability, by far, and usually will be cast by both Avengers back to back. It will remove all their non-framed buffs, deal a hefty amount of damage, and remove all of your buffs (even framed). If anyone is broken by it, they also get a regen buff. It is a horrible move that forces you waste a couple turns setting up again with your buffs/debuffs and healing up. The only saving grace is that your debuffs will only be removed after the HP attack, so defensive buffs will still help against it… but not for the second Rage, if the other Avenger is still alive. Also note that any time they break you with one of their other attacks, their recast bar fills faster – so try your best to avoid breaks and buy some time between Rages.
The easy way out is to bring any of the excellent boss disablers you might have acquired so far: Amidatelion, Arciela, Eald’narche, Kefka are great to make sure you can kill at least one of the Avengers before they can act. If you bring enough damage and a good Amidatelion friend, it is rather easy to keep both of them locked down the whole fight. If not, focus one of the avengers down first. They don’t get stronger when one dies, and it is much easier to deal with the remaining one after he is alone.
Regardless of their Lock immunity, some tanks are also amazing for this fight, especially Evasion-based tanks. Galuf can counter any of their Counter Lunges, making ![]() Steady Shot work in your favor. Cater can also evade and counter their attacks effortlessly. And although she can’t protect against Steady Shot, Aphmau’s (and Gabranth’s) BRV damage reduction is very good way to save your team from being broken.
Steady Shot work in your favor. Cater can also evade and counter their attacks effortlessly. And although she can’t protect against Steady Shot, Aphmau’s (and Gabranth’s) BRV damage reduction is very good way to save your team from being broken.
Apart from that, your best bet in this fight is to bring lots and lots of single target damage. It’s no surprise that Vaan is boosted; his single target damage is extremely good. And remember that the Chaos fight can be completed in co-op for the first two weeks after release; if your roster is not strong enough to complete it solo, call some friends to take advantage of that option!

DISCLAIMER:
Challenge quests are just a small bonus if you have already geared up the characters it asks for. If you haven’t, it is NOT worth pulling for a new character or spending ingots if you only intend to use them here. You can easily clear it with any team to get 400 gems and 3 tickets. The extra rewards for a Perfect complete with boosted characters are a measly 100 gems and 2% of a BT weapon. Not worth the hassle!
This Challenge Quest is hilariously difficult. It’s amazing how the whole fight is designed to remove the strengths of the boosted characters. It’s almost like SQEX wants you to regret pulling for them in the first place! Gabranth relies on enemies being debuffed, so both waves cleanse their debuffs periodically. Lenna is prized for her 100% debuff immunity, which the Avengers outright ignore. Wakka is an amazing party buffer, so obviously the Avengers will remove ALL of your buffs with their recast ability. Balthier can steal enemies’ buffs for his own use, so they don’t bring any good buffs for you to steal… so on and so forth.
Nevertheless, it IS certainly beatable, so here are some CQ-specific tips:
1 – Don’t do it. Skip the CQ if you value your sanity. Not convinced? Ooookay then…
2 – The first wave is mostly a warm-up. Use it to ramp up Vaan’s skills to the stronger versions (using one of his LD charges) and conserve much firepower from everyone as you can for the second wave. Make sure everyone ends the wave in great condition (HP full or nearly full, recently refreshed buffs, etc).
3 – focus one of the Riders first and kill it, especially if you have Gabranth. The riders will not cleanse debuffs before they reach 80% HP. The boosted units excel at single target damage, so make good use of it. Work on the second rider until it has around 30-40% HP left, then focus the third one.
4 – The latest update gave us the “Restart wave” button. Use it well. There is no need to retry the fight from the beginning once you get a good clear of the first wave.
5 – At the start of the second wave, both Avengers will use Ardor to inflict ![]() Steady Shot. Reset the wave if you see them start out with two different targets, at least that way only one of your team members will have to deal with counterattacks.
Steady Shot. Reset the wave if you see them start out with two different targets, at least that way only one of your team members will have to deal with counterattacks.
6 – AVOID BREAKS. The recast bar fills faster when they break anyone, either on their own turns or with Counter Lunge. The only characters who can act with impunity under ![]() Steady Shot are Vaan (the BRV refund from his EX or S1 can tank the hits), Balthier (who cleanses the debuff with S2), or Lenna (only if her HP+ will refund enough BRV to avoid the break from the counter). Using a BRV+ or AA just to avoid breaks from their counters is worth it.
Steady Shot are Vaan (the BRV refund from his EX or S1 can tank the hits), Balthier (who cleanses the debuff with S2), or Lenna (only if her HP+ will refund enough BRV to avoid the break from the counter). Using a BRV+ or AA just to avoid breaks from their counters is worth it.
7 – Really avoid Breaks from their Rage (recast ability). It can be a death sentence if you eat breaks from two Rages in a row. The CQ does not allow you to bring good tanks or damage mitigators besides Gabranth, and he can only reduce HP damage twice in the whole fight.
8 – Always keep in mind that Rage will cleanse their unframed debuffs, and remove all of your own buffs, even framed. Do NOT refresh either when the recast bar is almost full. Just keep your BRV high and save your skills to set up again right after they Rage.
9 – Try to keep both Avengers’ turn order in sync. You can’t prevent them from using Rage, so at least you want both to do it together, otherwise you will have your buffs erased twice and take longer to get back in fighting condition.
10 – Focus down one of the avengers as quickly as you can. They don’t enrage, and as soon as the first one dies, the battle becomes MUCH easier. Also, if you keep one at higher health, you will not have to deal with his increased stats at 80% and 50% HP. The perfect goal would be to survive the first Rage recast from both, and immediately burn one of them down before he is able to fill the recast bar a second time.
11 – Use your summon as a panic button. You can always call it to buy some time and heal up before a Rage that would kill your team, or to burn out debuff turns in case they decide to inflict ![]() Steady Shot on two different team members. Or you can use it to get that last bit of damage in and kill one of the bosses before he can cast Rage again.
Steady Shot on two different team members. Or you can use it to get that last bit of damage in and kill one of the bosses before he can cast Rage again.
12 – This fight will still be available for 3 days by the time the Odin summon boards arrive to GL. You can wait until that point to try it with the additional power bump from another summon board on your characters.
Gear Check: Gabranth and Lenna are the only units that can work at less than full power here (he can even work without EX if you have Vaan’s LD), but everyone else needs their full kits + 3 ingots and, preferably, full summon boards and training boards. Any little bit of extra power will help, as avoiding a Break can save you from resetting the wave.
For a better idea of what team comps are able to complete this, check the Challenge Quest tab in the Call to Arms.
If you do try to go for a full complete, here are some character-specific tips:

Vaan: The most vital part of the team, this CQ is almost impossible without him. For the second wave, try to time your LD uses after Rage, to make sure you will have spent all 3 free skill uses before they cast Rage again. You don’t want that precious LD buff being dispelled. If Vaan gets hit with ![]() Steady Shot, great news! You can use EX or Red Spiral to deal damage and still tank the counterattacks with the BRV refund. The blindness from White Whorl can save you when you least expect it; try to use it strategically when Vaan is not targeted (and hope for good luck).
Steady Shot, great news! You can use EX or Red Spiral to deal damage and still tank the counterattacks with the BRV refund. The blindness from White Whorl can save you when you least expect it; try to use it strategically when Vaan is not targeted (and hope for good luck).

Lenna: Another vital part of almost all team comps, her healing is essential to recover from the Rage damage. If your EX is full right before the Rage recast, hold on to it. The burst heal will help keep your team alive against their follow-up attacks. Prioritize getting the Wind Drake Ward buff back up asap to recover everyone’s HP before the next recast. Watch out with Rapid Shot, because its random hits can break targets out of order. Her AA is best used right before summoning, to maximize the team’s damage, or right before a Rage to emergency battery the whole team and avoid breaks.

Gabranth: His AA is your best way to survive a double Rage. It is usually safe to let them get the first cast off without it, and save the AA for the next ones. With boosted stats under 50% HP, Rage deals a lot more damage. Try to conserve his skills for the last wave, and reapply his debuffs with S1 asap after Rage. Even without AA, Gabranth’s special framed buff will greatly reduce the damage from the first Rage; unfortunately, it will be dispelled and will not help against the second one.

Balthier: Use his S1 more during the first wave. S2 is more useful in the second wave, since you can use it to cleanse ![]() Steady Shot from Balthier. Because of that, you can get a great start on wave 2 by resetting until both Avengers target him first with Ardor so he can cleanse. (credits to Xcaliblur for these tips)
Steady Shot from Balthier. Because of that, you can get a great start on wave 2 by resetting until both Avengers target him first with Ardor so he can cleanse. (credits to Xcaliblur for these tips)

Wakka: Besides the great buffs that need to be reapplied after every Rage, his main contributions to this CQ are his Blindness (which, sadly, is dispelled by the recast) and the great battery on his HP+, which helps prevent breaks.

Locke: It’s not often that we have two healer options for the same CQ. He won’t replace Lenna, but he sure can help out as the third character. And his great damage and turn manipulation can greatly help with keeping the bosses’ BRV down. And if you get Lenna’s Wind Drake Ward and Leviathan’s framed buff on him, he is able to start the second wave with 6 framed buffs, becoming immune to ![]() Steady Shot. Make sure you reset until both Avengers target him! (credits to tas for that tip)
Steady Shot. Make sure you reset until both Avengers target him! (credits to tas for that tip)
But with that said, we have 0 completes with Locke submitted in the Call to Arms so far… (EDIT: Tritoch has changed that with his Locke video – and without Lenna, even!)