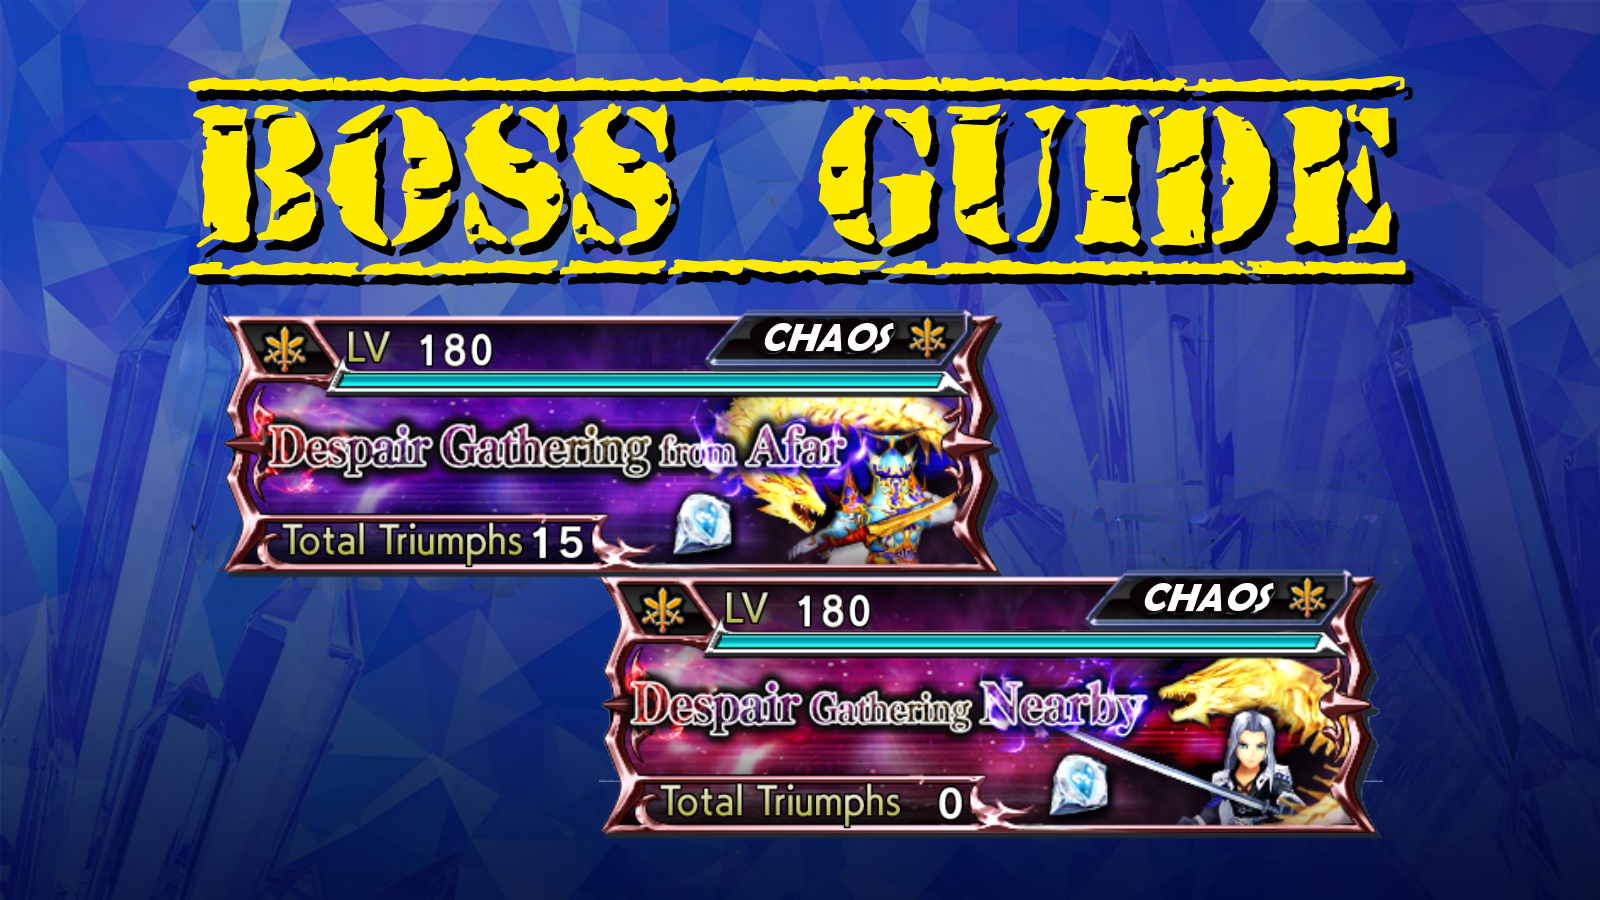
Mission Requirements:
Score 880k | Clear without any KOs | Clear within 80 turns | Take 20000 or less HP damage
Featured Characters: Ardyn, Maria, Lilisette, Rinoa, Kain, Alphinaud
Many team ideas with and without boosted characters are available in this event’s Call to Arms!
![]()
These guides are only released at least one day after the event has launched, because they are based on first-hand experience from testing and beating the fight with different team comps and strategies. And that takes a good amount of time!
If you would like to help support the effort put into creating this content, please consider becoming a patron. ![]()
Fight Overview & Team building
This fight has a single wave, but the bosses are deceptively tanky. It may not seem so at first, but the latter half of their health bar will take a long time to go down because of the much higher than usual BRV damage reduction they get. Make sure to bring characters with good longevity and stack damage increases, debuffs or BRV battery to help counter that.
Recommended:
- A good damage dealer. Or two. These bosses are extremely tanky.
- Good Attack Buffs/Auras to fight the exceptionally high BRV damage reduction
- Enchant/Imperil to further increase BRV damage
- Debuffers (especially SPD Down and DEF Down) as another way to help with damage
- Alternatively, bring good batteries and defenses to ignore the BRV damage reduction.
- A Healer to recover from the frequent HP attacks.
Avoid:
- Falling asleep during this long fight. It might completely drain your phone’s battery.
Summon tips:
- Any summon of your choice. Leviathan and Odin‘s blessings are basically guaranteed to trigger very quickly.
Wave 1: Planesgorger and Exdeath

| BRV Attack | |
| Tail Spear | |
| Crystal Wave | increases BRV; guaranteed hit; grants |
| Air Drive | increases BRV; guaranteed hit |
| Energy Shot | high turn rate if breaking or attacking broken target |
| Flare | |
| Crystal Crush | |
| Blast Wave | high turn rate, even higher if breaking or attacking broken target |

| BRV Attack | |
| HP Attack | |
| Black Hole | inflicts |
| Vacuum Wave | recovers BRV based on BRV damage dealt |
| Almagest | increases BRV if below INT BRV; |
| Sylvan Bounty | gains BRV based on INT BRV; grants |
| Grand Cross | steals 1/2 of all enemies’ BRV; |
At wave start: Chaos aura grants 50% increase to SPD
“Powers heightened…!”:(activates at 80% HP):
Aura changes to 30% increase to ATK, INT BRV, MAX BRV and 60% to SPD, lowers BRV damage taken by 50% ⚠️
“Powers further heightened…!“: (activates at 50% HP):
Aura changes to 50% increase to ATK, INT BRV, MAX BRV and 70% to SPD, lowers BRV damage taken by 75% ⚠️
Enrage: No.
The defining feature of this fight is the insane amount of BRV damage reduction both bosses will get. When their HP drops below 80%, your attacks will deal half as much BRV damage; below 50%, you will be dealing one quarter of the usual damage. This means you should bring your most recent and well built damage dealer (Ardyn being the obvious choice if you have his gear, due to the boosted status) and/or stack ATK buffs, DEF down debuffs, and elemental enchant/imperil to continue dealing good BRV damage throughout the fight. If you don’t, your damage will drop sharply in the latter half of the fight.
One way to lessen this problem is by focusing most of your damage on one of the enemies first, until it hits around 30% health or so. Keeping the other one healthy will allow your group attacks to deal more damage to that enemy, so your overall damage will be higher for a longer time than if both reach half health arond the same time. If your team is very focused on single target attacks, you might even prefer to kill off one of them entirely before starting to work on the other – but most characters nowadays have group damage on at least some of their skills.
Alternatively, if you bring a team with enough ways to battery each other and fill up their BRV without direct attacks, that is another way to continue dealing damage regardless of the BRV reduction. The only catch is – Exdeath‘s attacks can steal that BRV and throw it back on you as HP damage, so you still need to have a way to shave his BRV down after Vacuum Wave (for instance, with gravity attacks or guaranteed breaks) and pay attention to dump your BRV whenever you see him targeting :all:, or Grand Cross can really wreck your team. Exdeath can also reach high BRV easily with a combination of his Sap debuff and BRV regen buff; if you have no way to shave him, skills that allow you to reduce HP damage or cheat death also work.
Another great way to defend against this BRV stealing is by bringing shields. The BRV damage will hit any existing shield before the actual BRV your character has, and shield BRV is not stolen by your enemy. Nine is especially useful for that, since his shields can protect the whole team and his LD buff will take care of any surprise HP damage in case of emergency.
As for the Planesgorger, watch out for the high turn rate in some of its attacks; it could get two turns in a row and catch you unaware. It can also remove buffs from you with Crystal Crush, so pay attention to reapply them when needed. Its ![]() attack does not cause BRV damage, so you don’t need to worry about being broken when you see it coming.
attack does not cause BRV damage, so you don’t need to worry about being broken when you see it coming.

Wave 1: Planesgorger and Sephiroth
| BRV Attack | |
| Tail Spear | |
| Crystal Wave | increases BRV; guaranteed hit; grants |
| Air Drive | increases BRV; guaranteed hit |
| Energy Shot | high turn rate if breaking or attacking broken target |
| Flare | |
| Crystal Crush | |
| Blast Wave | high turn rate, even higher if breaking or attacking broken target |

| BRV Attack | |
| HP Attack | |
| Octaslash | recovers from Break; |
| Fervent Blow | |
| Black Materia | gains BRV based on INT BRV; absorbs 1/5 of all enemies’ BRV; |
| Heartless Angel | reduces single target’s BRV to 1; |
At wave start: Chaos aura grants 50% increase to SPD
“Powers heightened…!”:(activates at 80% HP):
Aura changes to 30% increase to ATK, INT BRV, MAX BRV and 60% to SPD, lowers BRV damage taken by 50% ⚠️
“Powers further heightened…!“: (activates at 50% HP):
Aura changes to 50% increase to ATK, INT BRV, MAX BRV and 70% to SPD, lowers BRV damage taken by 75% ⚠️
Enrage: No.
Surprise! This is a two-for-one raid, and you get to fight practically the same fight again with Sephiroth replacing Exdeath. That is literally the only change. It is also maybe even a little easier than the first version, since Sephiroth’s attacks, while still having similar BRV-reducing gimmicks, don’t pose quite the same danger of HP damage as Exdeath’s. Sephiroth has only one ![]() attack, and it does not cause BRV damage, so you can freely dump your BRV before it without fear of being broken.
attack, and it does not cause BRV damage, so you can freely dump your BRV before it without fear of being broken.


DISCLAIMER:
Challenge quests are just a small bonus if you have already geared up the characters it asks for. If you haven’t, it is NOT worth pulling for a new character or spending ingots if you only intend to use them here. You can easily clear it with any team to get 400 gems and 3 tickets. The extra rewards for a Perfect complete with boosted characters are a measly 100 gems and 2% of a BT weapon. Not worth the hassle!
Just like the regular Chaos, the Challenge Quests are also basically copies of one another. If you have a good team among the six boosted characters – especially if you got Ardyn his full kit up to LD – that’s good news! It’s basically two BT tokens for the price of one. All of the boosted characters for this raid are good or at least decent, and with 3 of them being healers, team building is very easy.
Gear Check: Ardyn EX+3 with LD is your ticket for an easy ride through these CQs. He does so much damage by himself, pretty much any pair of the other characters can work with him. Alphinaud and Kain really want their EX at 3LB to show their potential, while Maria and Rinoa can work comfortably with fewer ingots (but Rinoa’s LD is a big help). Lilisette is the most budget-friendly character, working even without her EX.
For a better idea of what team comps are able to complete this, check the Challenge Quest tab in the Call to Arms.