How to access:
Clear all of the Lost Chapter stages in Normal mode (no need to get a full Complete on everything at first) to unlock their Hard versions. This will give you access to the Hard (CHAOS) version of the last boss fight.
Stage Difficulty: Level 180 (CHAOS)
Mission Requirements:
Score 630k | Clear without any KOs | Clear within 90 turns | Take 20000 or less HP damage
Featured Characters: Alphinaud, Yda, Celes
Many team ideas with and without boosted characters are available in this event’s Call to Arms!
Fight Overview & Team building
This is a fight without many gimmicks, more of a test on whether your roster has been keeping up with the power increase in recent banners. It is highly recommended that you read through the second wave description before picking your team, as going in unprepared can doom your run before it begins.
Recommended:
- Characters with high damage and/or free turns. This fight has high damage requirements to keep the bosses under control and to finish within the turn count.
- Characters with Poison, Sap, Gravity or “True damage”. Read the strategy for the last wave to find out why.
- Tanks/Evasion units. Celes, Galuf, Snow or Zack help immensely. Edge/Beatrix/Porom can also save the party when the enemy’s BRV gets out of hand.
- Healers or damage mitigators are almost mandatory, since the last wave has high risk of repeated HP damage.
Avoid:
- Debuffers who rely on generic debuffs, as the final wave bosses are immune to most.
Summon options:
- Any, choose based on what your team composition needs.
- There are no elemental weaknesses or resistances.
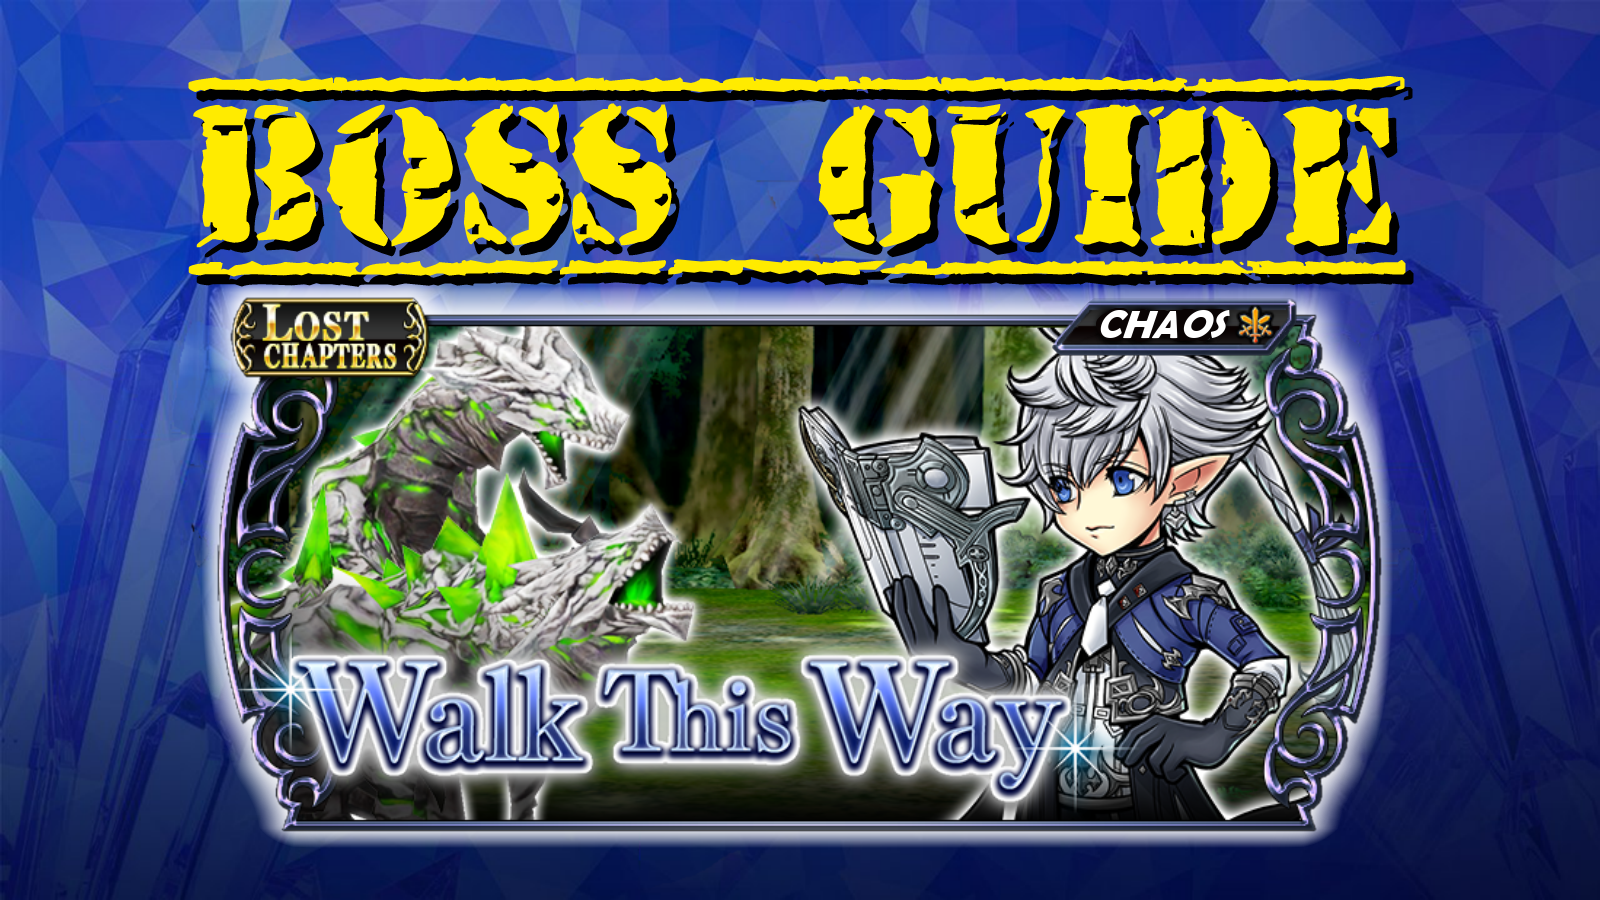
Wave 1: Swarm Fly x1, Small Swarm Fly x2

| Aero | |
| Aerora | Powerful |
| Aeroga | More powerful |
| Venom Bite | |
| Poison Hit | higher turn rate when inflicting Break or attacking Broken target “+” version: also inflicts |
| Powder Stream | inflicts |
| Rallying Cry | Summons small swarm fly; raises ATK, DEF, SPD, INT BRV, MAX BRV of small swarm flies summoned while Angry |
| Mosbite | |
Angry: Raises ATK, DEF, SPD, INT BRV, MAX BRV (activates at 80% HP)
Angrier: Raises ATK, DEF, SPD, INT BRV, MAX BRV further (activates at 50% HP)
Enrage: No. But can revive its little buddies after they are killed.
| Aero | |
| Aerora | Powerful |
| Aeroga | More powerful |
| Spiral Attack | |
| Tiny Poison Hit | increases bigger Swarm Fly’s BRV “+” version: also inflicts |
| Buzz | Raises ATK, DEF, SPD, INT BRV, MAX BRV; high turn rate “+” and “++” version: also grants |
| Rallying Cry | Summons small swarm fly; raises ATK, DEF, SPD, INT BRV, MAX BRV of small swarm flies summoned while Angry |
| Tiny Mosbite | |
The first wave is mostly a warm-up, the key here is not wasting too many turns and skill uses on these enemies because the real fight is on wave 2.
Focusing on the bigger Swarm Fly is the optimal strategy. The Small Swarm Flies do not need to be killed more than once, and will most likely have died from splash damage long before their leader. As soon as the bigger Swarm Fly is killed, its followers will disappear as well.
Both kinds of flies are only able to deal HP damage through a ![]() single target attack, so if you brought Galuf they are completely unable to harm you except for the annoying status effects they cause.
single target attack, so if you brought Galuf they are completely unable to harm you except for the annoying status effects they cause.
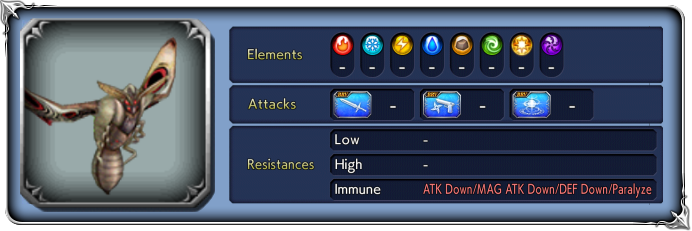
Wave 2: Glow Lizard x2
| Burn Shot | |
| Divebomb | |
| Volcano Shot | higher turn rate when inflicting Break or attacking Broken target |
| Fire Breath | |
| Heat Breath | higher turn rate when inflicting Break or attacking Broken target |
| Blaze Impact | Increases BRV if less than INT BRV; |
| Glow Rush | Recovers from Break; |
| Guard Resonance | (lasts until Broken; effects end with “Became frail…!”) |
Dread Lore: Raises ATK, DEF, SPD, INT BRV, MAX BRV (activates at 80% HP)
Dread Lore+: Raises ATK, DEF, SPD, INT BRV, MAX BRV further (activates at 50% HP)
Dread Lore++: Raises ATK, DEF, SPD further (activates when one of them dies.)
Enrage: Yes. See Dread Lore++ above.
These lizards have a relatively simple gimmick, but it’s a very strong one. Read all about it below. However, the real enemy in this fight is the low turn limit. If you focus your team too much on dealing with their special move, you might end up with too little damage output to finish the fight within 90 turns. Make sure to bring at least one strong, recent damage dealer to complete that objective.
Guard Resonance is a group ![]() self-applied buff that gives both lizards a sizable amount of BRV and a yellow aura. While they have this aura, any direct BRV damage on them is reduced by 90%. The only way to remove this aura is by inflicting a Break on the lizard. If you do not get rid of that BRV, their next attack will be either a single-target Divebomb / Glow Rush or a group Blaze Impact, converting that BRV into a big chunk of HP damage. Note, too, that the aura increases the HP damage they deal, so their attacks will hurt more than you expect.
self-applied buff that gives both lizards a sizable amount of BRV and a yellow aura. While they have this aura, any direct BRV damage on them is reduced by 90%. The only way to remove this aura is by inflicting a Break on the lizard. If you do not get rid of that BRV, their next attack will be either a single-target Divebomb / Glow Rush or a group Blaze Impact, converting that BRV into a big chunk of HP damage. Note, too, that the aura increases the HP damage they deal, so their attacks will hurt more than you expect.
This attack is heavily telegraphed. They always start the wave using it. Afterwards, you always know it’s coming when one lizard readies an ![]() attack and the other one an
attack and the other one an ![]() attack. That is your cue to either use your tools to prepare for their aura, or to Break them so that the
attack. That is your cue to either use your tools to prepare for their aura, or to Break them so that the ![]() attack happens before the aura. If you let the
attack happens before the aura. If you let the ![]() lizard act first in the turn order, you will be leaving yourself open to a painfully boosted group attack from the other one.They will repeat this cycle a few times throughout the fight, becoming more and more dangerous as their stats increase with each Dread Lore. Don’t underestimate the risk of an instant KO near the end of the run.
lizard act first in the turn order, you will be leaving yourself open to a painfully boosted group attack from the other one.They will repeat this cycle a few times throughout the fight, becoming more and more dangerous as their stats increase with each Dread Lore. Don’t underestimate the risk of an instant KO near the end of the run.
Tools to deal with the Guard Resonance:
“Gravity” (percentage-based) or “True Damage” attacks: Any attack that cuts the enemy’s BRV by a set amount will ignore the BRV damage reduction, allowing you to break them easily.
Suggested units: Penelo, Exdeath, Yuri, Ultimecia, Bartz
Poison/Sap: These debuffs bypass BRV reduction and make the lizards much easier to break, especially if you stack more than one effect.
Suggested units: Alphinaud, Yda, Exdeath, Caius, Serah, Ultimecia, Shantotto
Tanking/HP damage mitigation: Surviving the follow-up attacks leaves the lizards without BRV and easily breakable. Tanks are a great way to do that.
Suggested units: Celes, Galuf, Snow, Zack, Porom, Hope
Evasion/Blindness/HP damage negation: If you have a way to force them to miss or deal 0 damage, you can let the lizards waste their BRV on a meaningless attack and just break them afterwards.
Suggested units: Edge, Galuf, Shadow, Beatrix, Wakka/Prompto (with an enabler to get through the Ranged resistance)
Delay/Paralyze/HP attack disable: Arciela can stall the lizards and give you more time to break them. Paralyzing/Delaying the lizard who prepares the ![]() means you have much more time to deal damage to the lizards without the BRV damage reduction getting in the way, and the other lizard will NOT attempt to use Guard Resonance in the meantime.
means you have much more time to deal damage to the lizards without the BRV damage reduction getting in the way, and the other lizard will NOT attempt to use Guard Resonance in the meantime.
Suggested units: Arciela, Lightning, Leo, Gilgamesh, Kam’lanaut, Ashe
Guaranteed Breaks: A few characters can break the target regardless of current BRV. This is perfect to remove the aura instantly, but none of these tools are especially easy to use.
Suggested units: Lann & Reynn (on their EX, but you probably need Selphie to have it up when needed), Caius (Doom debuff, requires well timed application), Kefka (low chance on his EX, but he is really outdated at the moment)
Damage multipliers: If all else fails, one way to deal with the BRV damage reduction is by amplifying your own BRV damage. Some good ways to do it are via elemental Enchant/Resist Down combos paired with Diabolos, Launches paired with Pandemonium,
Suggested units: Fujin, Layle, Cecil (Dark Knight), Aranea (bonus damage on Vitalcrusher), Leo (bonus damage on single target skills)