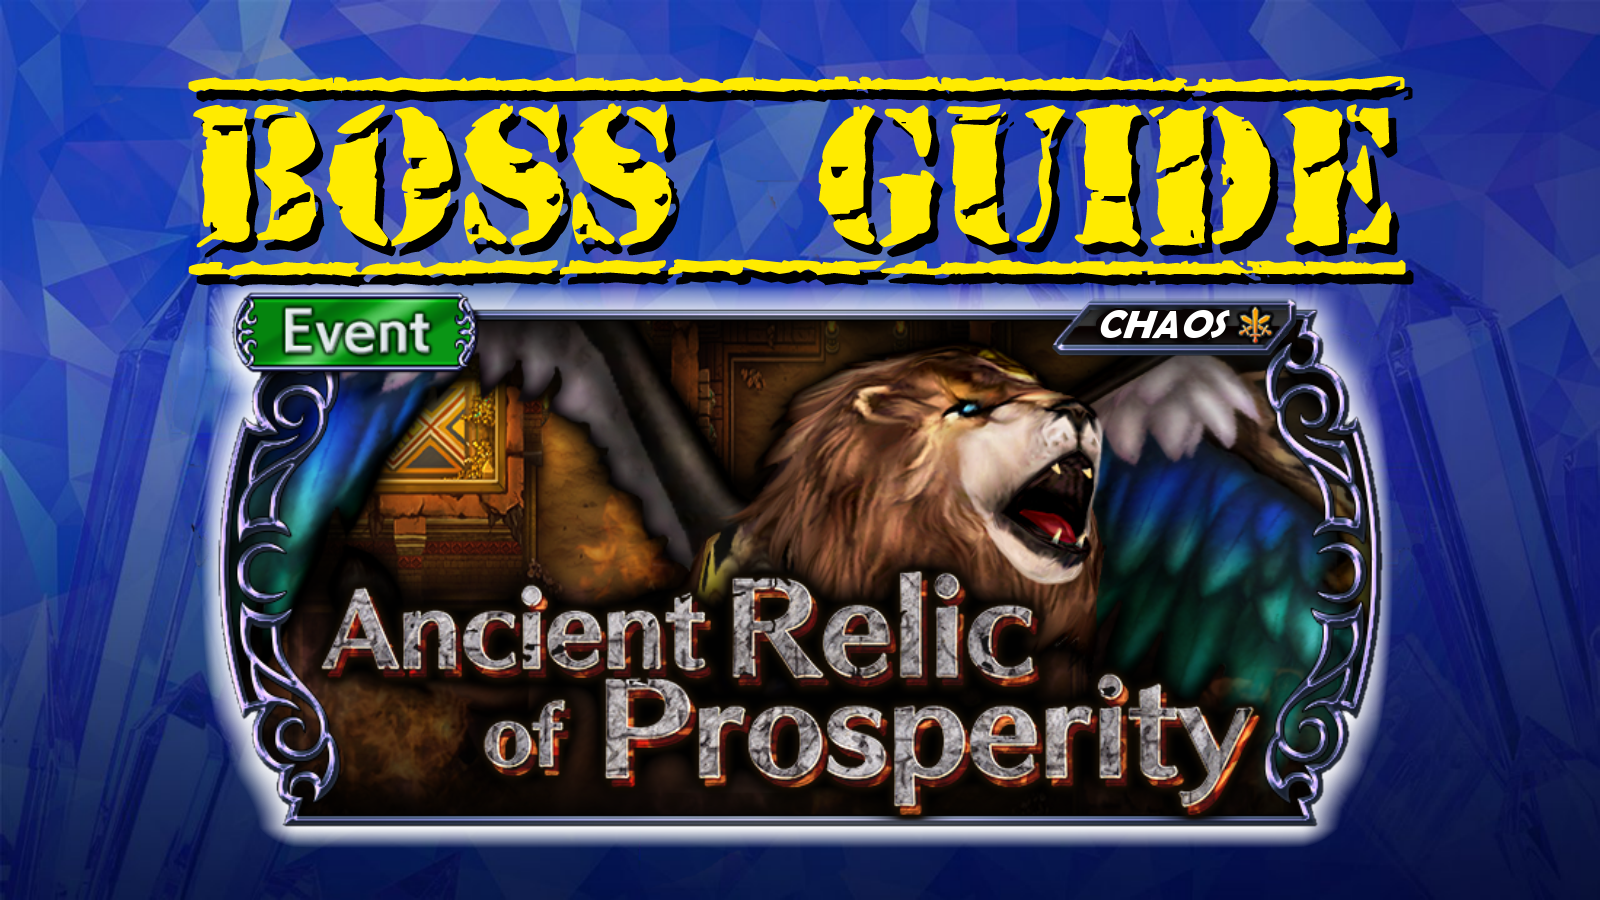
How to access:
Clear all of the Event stages in the HARD version until you reach the CHAOS stage.
Stage Difficulty: Level 180 (CHAOS)
Mission Requirements:
Score 430k | Clear without any KOs | Clear within 120 turns | Take 15000 or less HP damage
Featured Characters: Fujin, Cyan, Vanille, Balthier, Setzer, Cecil (Paladin)
Many team ideas with and without boosted characters are available in this event’s Call to Arms!
Fight Overview & Team building
This Chaos stage is HEAVILY slanted towards bringing at least one dispeller in your team. The 4 different versions of the fight are identical, except for the crystal color limitations, so the strategy below applies to all of them.
Recommended:
- Dispellers. The entire fight is centered on bosses who apply very strong enframed buffs on themselves.
- Tanks/Damage mitigators. Snow, Galuf and Zack help immensely. Edge/Beatrix/Porom can also save the party when the enemy’s BRV gets out of hand. Selphie and Hope help withstand their huge BRV damage.
- Healers or damage mitigators are almost mandatory, since it is a very long fight with frequent HP damage.
- Debuffers work best if you have a dispeller, otherwise you will have no slots to apply debuffs on the enemies. Used well, framed debuffs can also keep the enemies from applying their own buffs.
Avoid:
- Characters who depend on applying debuffs to the enemy, if you have no way to remove their enframed buffs. These bosses leave only 1-3 slots available for debuffs.
Summon options:
- Any, choose based on what your team composition needs.
- Ifrit and Ramuh can exploit elemental weaknesses.
Wave 1: Chimera Nova x2

| Back Kick | |
| Heavy Combo | grants |
| Trinity Hurricane | Increases BRV if less than INT BRV; |
| Shift Change | Free action after each attack, changes active head, always in the order Bear->Eagle->Cobra |
Bear (weak to 
 )
)
| Stonera | |
| Gaia Crush | |
| Stone Blast | |
| Group Stonega | |
Eagle (weak to  )
)
| Aero Slash | high turn rate |
| Crush Beak | |
| Group Aeroga | |
Cobra (weak to  )
)
| Firaga | |
| Fire Wall | |
| Crimson Storm | Powerful |
Brawny Roar: Raises ATK, DEF, SPD, INT BRV, MAX BRV; gains ![]() 5T ATK Up,
5T ATK Up, ![]() 5T DEF Up,
5T DEF Up, ![]() 5T SPD Up; starts attacking 2x per turn (activates at 80% HP)
5T SPD Up; starts attacking 2x per turn (activates at 80% HP)
Heaven’s Cry: Raises ATK, DEF, SPD, INT BRV, MAX BRV further; gains ![]() 5T ATK Up,
5T ATK Up, ![]() 5T DEF Up,
5T DEF Up, ![]() 5T SPD Up; starts attacking 3x per turn (activates at 50% HP)
5T SPD Up; starts attacking 3x per turn (activates at 50% HP)
Aegis Roar: Raises ATK, DEF, SPD, INT BRV, MAX BRV even further; gains ![]() 5T ATK Up,
5T ATK Up, ![]() 5T DEF Up,
5T DEF Up, ![]() 5T SPD Up (activates at 35% HP)
5T SPD Up (activates at 35% HP)
Enrage: No. They do not power up when the first one dies.
This wave is harder and longer than the final one, so don’t take it lightly. These bosses shift between three modes (one for each active head) that should allow you to predict what their next attack will be, since each head has a different arsenal. In practice, it does not make much difference: after reaching 80% HP, they will always use 2 attacks in a row (one from each head) and after reaching 50% HP, 3 (still one from each head). What you can rely on is that if they are targeting a single party member, all attacks will be single target, the same goes for group attacks. Note that Heavy Combo and Trinity Hurricane can be used regardless of which head is glowing, and count as a full combo. Since they mix physical and magic attacks in their combos, Galuf and Celes will be able to protect against almost all single target attacks.
The Chimeras will roar and power up at 80%, 50% and 35% HP. Each time it happens, they will get the usual stats increase all Chaos bosses have, and on top of that gain 3 enframed buffs for 5 turns: ![]() ATK Up
ATK Up ![]() DEF Up,
DEF Up, ![]() SPD Up. In addition, if they use Heavy Combo they will also get
SPD Up. In addition, if they use Heavy Combo they will also get ![]() DEF Up
DEF Up ![]() BRV Regen, totaling 4 enframed buffs and two stacking DEF Up buffs (luckily, you can push the non-framed buff off). Heavy Combo also cleanses non-framed debuffs on them.
BRV Regen, totaling 4 enframed buffs and two stacking DEF Up buffs (luckily, you can push the non-framed buff off). Heavy Combo also cleanses non-framed debuffs on them.
These buffs make the already beefy foes insanely stronger, especially at lower health. They leave only 2 slots available for debuffs. Their DEF can become so high, teams without strong attack buffs/auras start hitting for 1 damage. The increased SPD can give them 2 turns in a row. Their combo attacks can easily gain them over 30k BRV, and deal so much damage they can break a team member even if their current BRV is not low. This fight heavily pushes you to bring at least one dispeller in your team, but you have to time your dispels correctly because they will reapply the buffs at those health thresholds – and the next wave will also need those dispel uses.
These enemies do not enrage when one is killed, so there are two main strategies that work here depending on whether your focus is single target or area damage. Either lower their health in sync – so they reapply buffs at the same time, and your dispeller can get rid of them all with a single skill use – or focus hard on dealing damage to a single boss, that way the other one will remain unbuffed and using only one attack per turn. Either way, be very careful when they reach the last third of their HP bar, as their stats will have peaked and any attack carries a real risk of instant KO.
Summoning right before dealing the final blow to the last Chimera can be a useful strategy – see the reason below.
Wave 2: Ankh Beast x2

| Aerora | |
| Onslaught | |
| Stance Change | (free action) Rise: Changes modes to [Airborne]; becomes weak to Land: Changes modes to [Grounded]; cancels ATK, DEF, MAX BRV boost from Monarch’s Disposition |
| Raining Sky | (only usable while [Airborne]) |
| Great Mazer | (only usable while [Airborne]) |
| Noble Wing | (only usable while [Airborne]) |
| Monarch’s Disposition | Raises own ATK, DEF, MAX BRV; also grants itself (only usable while [Grounded]) |
| Grand Mash | (only usable while [Grounded]) |
| Awful Stream | Recovers from Break; (only usable while [Grounded]) |
Menacing this way…!: Raises ATK, DEF, SPD, INT BRV, MAX BRV (activates at 80% HP)
Further menacing this way…!: Raises ATK, DEF, SPD, INT BRV, MAX BRV further (activates at 50% HP)
Enrage: No. They do not power up when the first one dies.
Both bosses start the wave with two free turns, which they will use to seriously buff up with Monarch’s Disposition and then Rise, becoming [Airborne]. You can skip these free actions by summoning right before the transition into this wave (thanks Aarolei for the tip!). This is especially important for teams that rely on debuffing the enemy; if you let them apply their free enframed buffs, they will have only 2 slots available for debuffs. If, instead, you start in summon and throw your own enframed debuffs on them first, you can deny them buff slots and start the fight on a much stronger footing. Otherwise, debuff-heavy teams will seriously need to dispel before having room to apply debuffs.
The Ankh Beasts are more dangerous while flying: they gain increased stats abd access to Great Mazer (adding SPD UP, a fifth enframed buff to their list, but at least it does not inflict a guaranteed break this time), Raining Sky (a group attack that reapplies their main buffs for 8 turns) and Noble Wing (which has a chance to Paralyze the target). Usually they will do 2-3 air attacks before Landing as a free action.
On the ground, they usually do an Awful Stream or Onslaught before repeating the Monarch’s Disposition -> Rise -> air attacks cycle. You may have noticed both of those attacks deal HP damage (and they seem programmed to almost certainly use Awful Stream the first time they land). Since they are that predictable, you can use Arciela’s Descension & Sight Unseen to disable HP attacks and completely stop their actions for 2 turns as soon as they land. Repeat that cycle as needed, and you can exploit the AI to keep them stuck on the ground and deal free damage without retaliation.
All in all, this wave is less dangerous than the first, but still very dangerous. Their Onslaught can still kill characters who rely on Last Stand, since it deals HP damage twice; and their other attacks can deal ridiculous damage, especially while flying. Watch out to avoid breaks as needed, and remember that this fight has very lax turn count/score requirements so you don’t need to rush it. These bosses do not enrage either, so focusing hard to kill one before the other is a valid choice.